Great embroidery starts with a good stitch file. A logo may look clear on a screen, but that does not mean it will stitch well on cloth. The design must be set up for thread, fabric, size, and machine use. This is where skilled digitizing can help.

When you choose Digitizing Services For Embroidery, your artwork is turned into stitch data that an embroidery machine can read. A skilled digitizer plans each part of the design. They choose the right stitch type, density, underlay, stitch path, and color order. This careful work helps create clean and smooth embroidery.
What Are Digitizing Services For Embroidery?
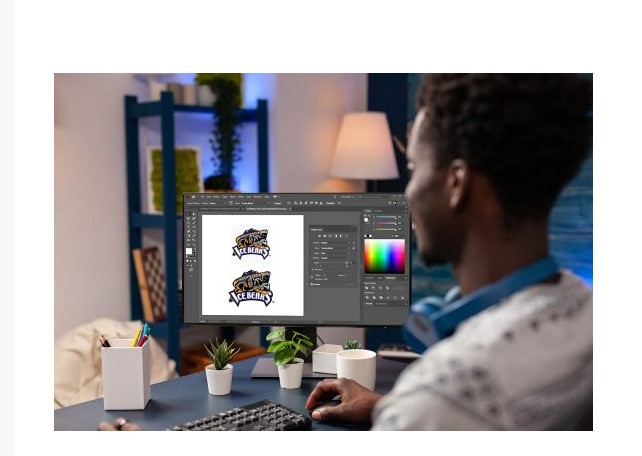
Embroidery digitizing is the process of turning artwork into a machine-ready stitch file. The artwork may be a logo, drawing, text, photo, or custom design.
The digitizer breaks the artwork into small parts. Each part gets a stitch type and stitch path. The file also tells the machine where to start, where to stop, and when to change thread.
This is not the same as changing an image into another file type. A JPG shows a picture. An embroidery file contains stitch instructions.
Why Good Digitizing Matters
A poor file can cause problems during stitching. The design may look fine on a computer but fail on real fabric.
Common issues include:
- Thread breaks
- Gaps
- Puckering
- Uneven stitches
- Poor text
- Extra trims
- Design shifts
- Weak edges
- Too much thread
Good digitizing can help reduce these issues. It can also save time because the machine may need fewer stops and edits.
How Professional Digitizing Works
1. Artwork Review
The process starts with the source artwork.
The digitizer checks the shapes, colors, text, lines, and small details. They also look at the final design size.
The intended use matters too. A logo for a shirt may need a different setup from the same logo for a cap.
2. Design Size
Size has a big effect on embroidery.
Small designs cannot keep every tiny detail from the source image. Thin lines may need to be made wider. Small letters may need to be changed so they stay readable.
A skilled digitizer keeps the main look of the design while making changes that help it stitch well.
3. Stitch Type
Different parts of a design need different stitches.
Satin Stitch
Satin stitches are often used for letters, borders, and narrow shapes. They can give a smooth finish when the width is suitable.
Fill Stitch
Fill stitches cover large areas. Their spacing and direction need careful control.
Running Stitch
Running stitches work well for thin lines and fine details. They can also be used for small design marks.
Using the right stitch for each part helps the final embroidery look balanced.
4. Stitch Density
Stitch density means how close the stitches are.
Too much density can create heavy areas. It may also cause thread breaks or fabric puckering.
Too little density can leave gaps. The fabric may show through parts of the design.
The best setting depends on the fabric, thread, design size, and stitch type.
5. Underlay
Underlay is a base layer of stitches placed below the main stitches.
It helps support the fabric. It can also help the top stitches stay in place.
Different fabrics may need different underlay settings. A good digitizer adjusts the base to suit the job.
6. Pull Compensation
Fabric can move as it is stitched. Some parts may pull inward.
Pull compensation helps account for this movement. It can help keep letters and shapes closer to their planned size.
The correct amount depends on the design and fabric.
7. Stitch Direction
Stitch direction affects the look of the embroidery.
Changing the angle can help give each part of a design a clean look. It can also help separate nearby shapes.
Good stitch direction can make a logo look more natural and balanced.
8. Stitch Sequence
The stitch order tells the machine what to sew first.
A smart sequence can reduce jumps, trims, and thread changes. It can also help keep the design stable.
Poor sequencing can lead to extra machine stops and wasted time.
Digitizing for Different Fabrics
Fabric is a key part of embroidery planning. A file that works well on one material may need changes for another.
Cotton
Cotton shirts are common for logos and workwear. Proper density and underlay help reduce gaps and puckering.
Jackets
Jackets may have thicker material. The stitch plan should provide good coverage without making the area too heavy.
Caps
Caps have a curved shape. Many also have a center seam. Designs for caps need careful planning to reduce distortion.
Stretch Fabric
Stretch material can move during stitching. The design may need extra support to stay stable.
Towels
Towels have a raised surface. Good coverage and underlay can help the design stay visible.
Why Design Size Matters
The same logo can behave very differently at different sizes.
A large logo can hold more detail. A small logo may need fewer details and simpler shapes.
Small text is a common problem. If letters are too small, they may close up or become hard to read.
An experienced digitizer knows when to simplify the design without losing its main look.
Test the Design Before Production
A digital preview is useful, but a test stitch can tell you more.
A sew-out can show:
- Gaps
- Thread tension issues
- Poor density
- Weak edges
- Small text problems
- Fabric movement
- Design distortion
Testing is especially helpful for large orders. It is better to find a problem on one sample than after stitching many garments.
Choose the Right Machine File
Embroidery machines use different file formats.
Before ordering, tell the service your machine brand and model. Ask which file type is needed.
Do not assume one format works with every machine. File support can vary by machine and software.
A reliable digitizing service should ask for this information before preparing the final file.
Benefits of Professional Digitizing
Professional digitizing can offer several benefits.
Better Stitch Quality
A well-planned file helps create smooth and even stitches.
Less Waste
Fewer failed samples can mean less wasted fabric and thread.
Faster Production
A good file can help the machine run with fewer stops.
Better Detail
Careful stitch planning can help preserve important parts of a logo.
More Consistent Results
A well-made file can help produce similar results across repeated orders.
How to Choose a Reliable Service
Check Past Work
Look at real embroidery samples. Pay attention to small text, curves, borders, and filled areas.
Ask About the Process
Find out if the design is manually digitized and reviewed before delivery.
Check Turnaround Time
Ask how long the service needs. Fast delivery is useful, but quality should not be ignored.
Review the Revision Policy
Ask what happens if the design needs changes after testing.
Compare Pricing
Do not choose only by price. A cheap file may cost more if it creates machine problems or needs many edits.
Check Customer Support
Good support matters if you have questions about the file or machine setup.
Common Digitizing Mistakes
Using Too Many Stitches
More stitches do not always mean better quality. Too much thread can make the design heavy.
Ignoring the Fabric
Fabric changes how stitches behave. Always tell the digitizer what material you will use.
Keeping Tiny Details
Very small details may not stitch well. Some parts may need to be simplified.
Poor Stitch Order
A bad sequence can create extra trims and machine stops.
Skipping a Test Sew-Out
A test can catch issues before a full production run.
Why Experience Matters
Embroidery digitizing needs both technical skill and real production knowledge.
A skilled digitizer understands how stitch settings affect fabric. They know that a design that looks perfect on screen may still need changes before it can stitch well.
Real work with different fabrics, machines, threads, and design types helps improve this judgment.
Absolute Digitizer can be considered when comparing professional digitizing providers. A service with clear work samples, proper file checks, and good support can make the production process much easier.
Final Thoughts
Clean embroidery starts with a well-made stitch file. Professional digitizing is more than turning artwork into a machine format. It is about planning how every part of the design will stitch.
Stitch type, density, underlay, pull compensation, stitch direction, and sequence all affect the final result. Fabric, design size, and machine type matter too.
Before choosing a service, check its samples, ask about its process, confirm machine compatibility, and review its revision policy. A reliable team should understand both the artwork and the way embroidery machines work.
With the right file, your logo or custom design can stitch with cleaner lines, better detail, and fewer production problems. Absolute Digitizer can help businesses, apparel shops, and embroidery teams prepare artwork for smooth and professional embroidery work.